Now Reading: DIY Recycled Wall Art: Transform Old Magazines and Wood into Stunning Decor
- 01
DIY Recycled Wall Art: Transform Old Magazines and Wood into Stunning Decor
DIY Recycled Wall Art: Transform Old Magazines and Wood into Stunning Decor
Introduction: Upcycling for Art Lovers
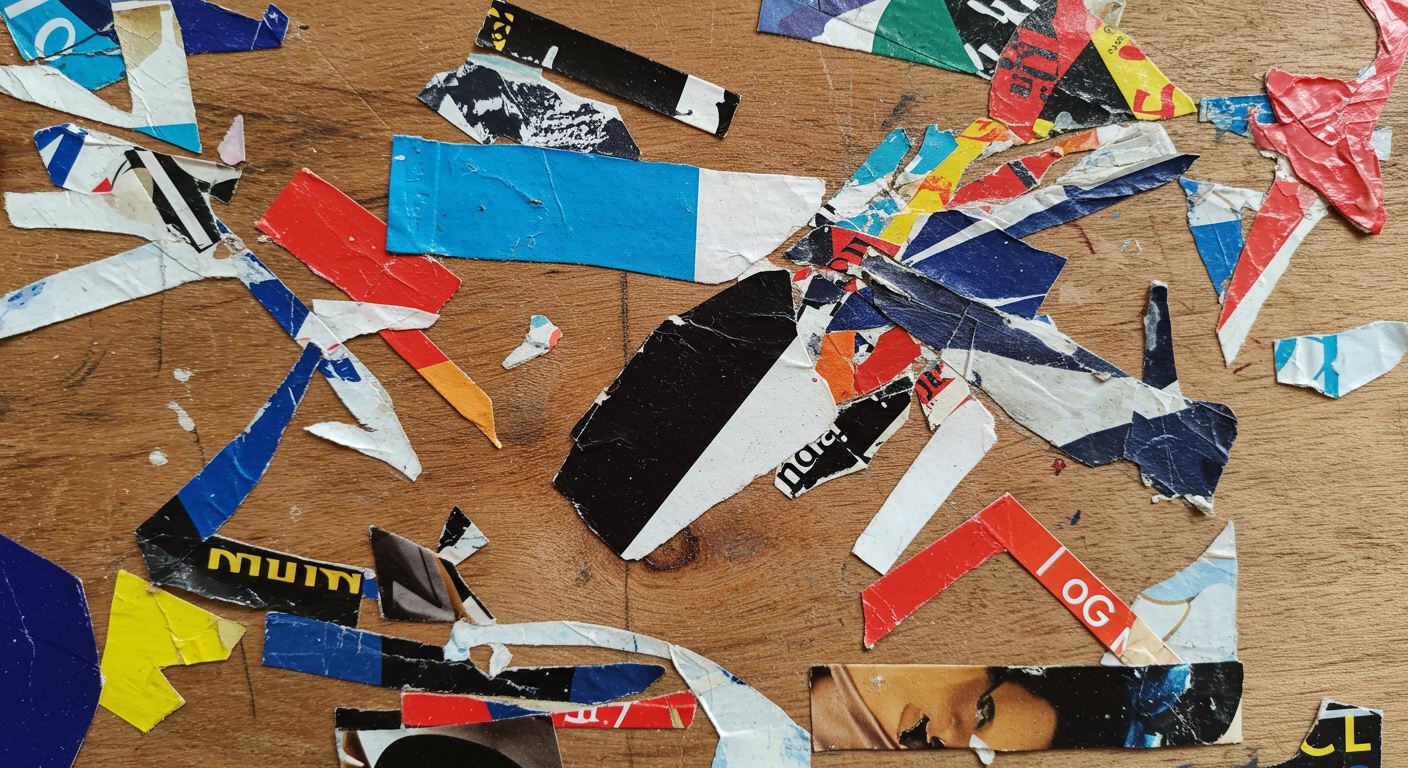
Are you looking for a creative and sustainable way to decorate your home? Look no further! This DIY project combines the charm of upcycling with the satisfaction of creating something truly unique. We’ll show you how to transform discarded magazines and leftover wood scraps into stunning recycled wall art.
This project is perfect for beginners and seasoned crafters alike. It’s budget-friendly, eco-conscious, and allows you to express your personal style. Get ready to dive into a world of color, texture, and artistic possibilities! Let’s turn trash into treasure.
Why Choose Recycled Wall Art?
- Eco-Friendly: Reduces waste and promotes sustainability.
- Budget-Friendly: Uses readily available and inexpensive materials.
- Unique and Personalized: Allows for endless creative possibilities.
- Therapeutic and Relaxing: Offers a fun and engaging crafting experience.
- Conversation Starter: Adds a unique and eye-catching element to your home decor.
So, grab your old magazines, scavenge some scrap wood, and let’s get started!
Materials You’ll Need
Before we begin, let’s gather the necessary materials. Here’s a comprehensive list:
- Old Magazines: A variety of magazines with vibrant colors and interesting images. Think fashion, travel, art, and home decor magazines.
- Scrap Wood: Any size or shape of wood will work. Consider using pallet wood, reclaimed lumber, or even plywood scraps. Thickness of the wood is dependent on your design
- Scissors or Craft Knife: For cutting magazine pages. A craft knife requires a cutting mat.
- Craft Glue or Mod Podge: To adhere the magazine pieces to the wood. Mod Podge acts as both a glue and a sealant.
- Ruler or Straight Edge: For measuring and cutting precise shapes.
- Pencil: For sketching your design or marking measurements.
- Sandpaper (Optional): To smooth rough edges on the wood.
- Paint or Stain (Optional): To add color or finish to the wood background.
- Varnish or Sealer (Optional): To protect the finished artwork and enhance its longevity.
- Hanging Hardware: D-rings, picture wire, or sawtooth hangers to mount your wall art.
- Cutting Mat: If you are using a craft knife.
Tips for Sourcing Materials:
- Ask friends, family, and neighbors for old magazines.
- Check with local libraries or schools for discarded publications.
- Visit thrift stores or recycling centers for affordable scrap wood.
- Look around your home for potential materials that can be repurposed.

Step-by-Step Instructions: Creating Your Masterpiece
Now that you have all your materials, let’s get to the fun part – creating your recycled wall art! Follow these step-by-step instructions to bring your vision to life:
- Prepare the Wood: Sand the wood surface to remove any splinters or rough edges. If desired, paint or stain the wood to create a background color. Let it dry completely.
- Design Your Artwork: Sketch out your design on paper or directly onto the wood. Consider abstract patterns, geometric shapes, floral motifs, or even representational images.
- Prepare the Magazine Pages: Browse through your magazines and select pages with colors, textures, and images that complement your design. Tear or cut out the desired shapes and sizes.
- Adhere the Magazine Pieces: Apply a thin layer of craft glue or Mod Podge to the back of each magazine piece. Carefully position it onto the wood surface according to your design. Press firmly to ensure proper adhesion.
- Layer and Overlap: Experiment with layering and overlapping magazine pieces to create depth and visual interest. Don’t be afraid to get creative!
- Seal the Artwork (Optional): Once the glue is completely dry, apply a coat of varnish or sealer to protect the finished artwork and enhance its durability. This step is highly recommended for pieces that will be placed in areas with high humidity or potential for spills.
- Add Hanging Hardware: Attach D-rings, picture wire, or sawtooth hangers to the back of the wood, ensuring they are securely fastened.
- Hang and Enjoy: Hang your beautiful recycled wall art in your desired location and enjoy the fruits of your labor!
Important Considerations:
- Glue Type: Experiment with different types of glue to see which one works best for you. Mod Podge is a popular choice because it acts as both a glue and a sealant.
- Drying Time: Allow ample drying time between each step to prevent smudging or warping.
- Safety: Use caution when using scissors or craft knives. Always use a cutting mat when working with a craft knife.
- Experimentation: Don’t be afraid to experiment with different techniques and materials to create your own unique style.
No products found.
Creative Design Ideas & Inspiration
Need some inspiration to get your creative juices flowing? Here are a few design ideas to spark your imagination:
- Abstract Color Blocks: Cut out squares or rectangles of various colors and arrange them in an abstract pattern.
- Geometric Shapes: Create geometric designs using triangles, circles, and squares cut from magazine pages.
- Floral Motifs: Cut out flower and leaf shapes from magazines and arrange them in a floral pattern.
- Word Art: Cut out letters from magazines and spell out inspiring words or phrases.
- Landscape Scenes: Create a landscape scene by cutting out images of mountains, trees, and water from magazines.
- Silhouette Art: Paint a silhouette onto the wood and then fill it in with magazine pieces.
- Mosaic Style: Cover the entire wood surface with small, irregularly shaped pieces of magazine to create a mosaic effect.
Tips for Finding Inspiration:
- Browse art galleries and museums for inspiration.
- Look through design magazines and websites for ideas.
- Experiment with different color combinations and textures.
- Draw inspiration from nature and the world around you.
- Don’t be afraid to try something new and unconventional!
Care and Maintenance
To keep your recycled wall art looking its best, follow these care and maintenance tips:
- Dust Regularly: Dust the artwork regularly with a soft cloth to prevent dust buildup.
- Avoid Direct Sunlight: Avoid placing the artwork in direct sunlight, as this can cause the colors to fade over time.
- Protect from Moisture: Protect the artwork from moisture and humidity, as this can cause the glue to weaken and the magazine pages to warp.
- Clean Gently: If the artwork becomes dirty, clean it gently with a damp cloth. Avoid using harsh chemicals or abrasive cleaners.
- Repair as Needed: If any of the magazine pieces come loose, reattach them with craft glue or Mod Podge.
With proper care, your recycled wall art will last for years to come, adding beauty and personality to your home.
This DIY project not only enhances your living space but also encourages sustainable practices. By repurposing materials, you contribute to a greener planet while expressing your unique artistic flair. Get creative, experiment with different techniques, and enjoy the process of transforming old magazines and wood into a stunning piece of art!
No products found.
Related Posts


Previous Post
Next Post


- Air Fryer Revolution: Your Guide to Crispy, Healthy & Fast Cooking

- AirPods: A Comprehensive Guide to Apple’s Wireless Earbuds
- Amazon Echo Dot: A Comprehensive Guide to Smart Home Automation
- Amazon Fire Stick: Your Ultimate Guide to Streaming Entertainment
- Apple TV: Your Comprehensive Guide to Streaming Bliss in 2024
- Apple Watch SE: The Smart Choice for a Smarter Lifestyle
- Apple Watch Series 9: A Deep Dive into the Latest Features and Innovations
- Apple Watch Ultra 2: A Deep Dive into the Ultimate Adventure Companion
- Apple Watch Ultra: The Ultimate Adventure Companion – A Deep Dive Review
- Apple Watch: A Comprehensive Guide to Features, Benefits, and Choosing the Right Model


