Now Reading: DIY Screen Cleaner: The Ultimate Guide to a Sparkling Display
- 01
DIY Screen Cleaner: The Ultimate Guide to a Sparkling Display
DIY Screen Cleaner: The Ultimate Guide to a Sparkling Display
Why DIY Screen Cleaner?
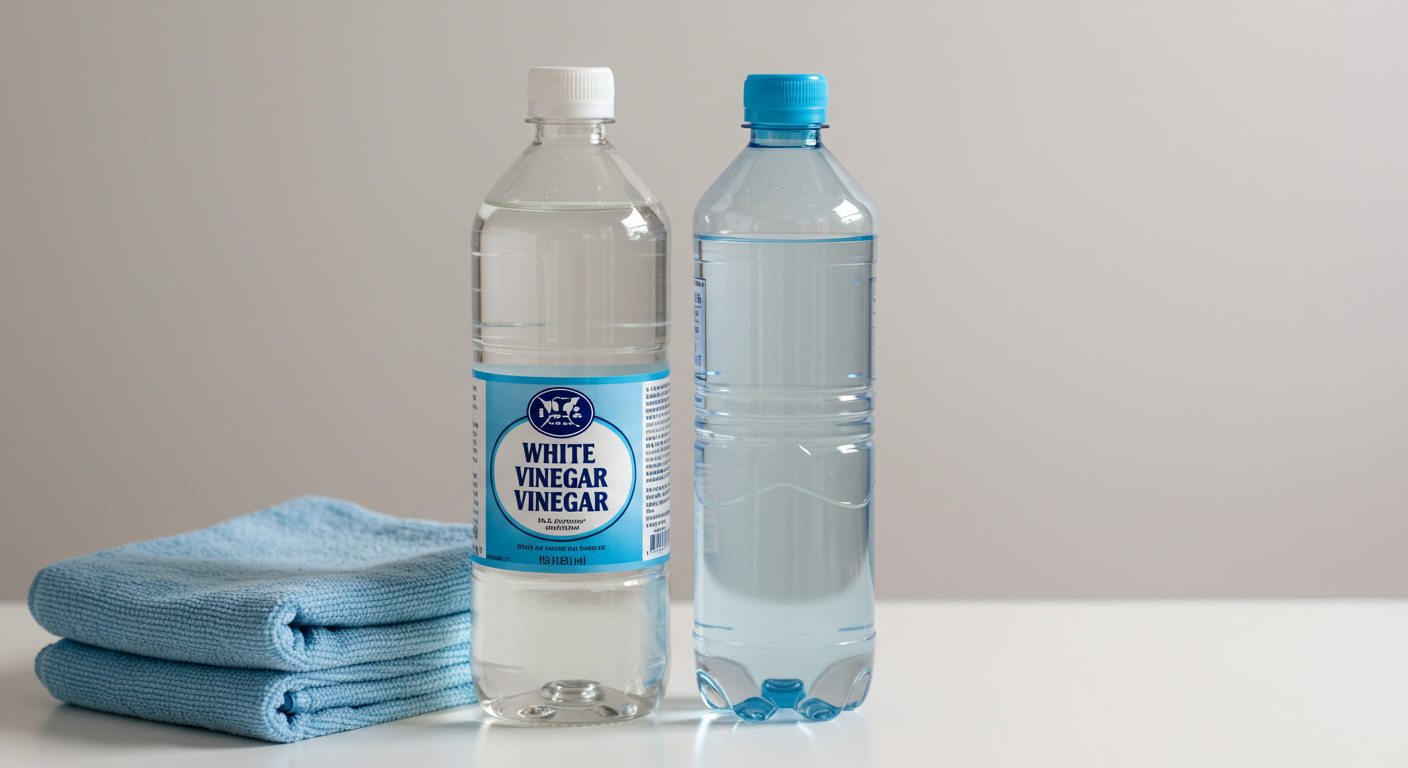
In today’s digital age, our screens are constantly bombarded with fingerprints, dust, and grime. From smartphones to laptops, maintaining a clean display is essential for optimal viewing and hygiene. While commercial screen cleaners are readily available, they can often be expensive and contain harsh chemicals. The good news is that you can create an equally effective screen cleaner at home using just a few simple ingredients: vinegar, water, and a microfiber cloth.
Making your own screen cleaner offers several advantages:
- Cost-Effective: DIY cleaner is significantly cheaper than store-bought alternatives.
- Environmentally Friendly: You control the ingredients, avoiding potentially harmful chemicals.
- Effective Cleaning: Vinegar and water effectively remove fingerprints and grime without damaging the screen.
- Convenient: You likely already have the necessary ingredients at home.
Gathering Your Supplies
Before you begin, make sure you have the following supplies:
- White Vinegar: This is the key cleaning agent. Distilled white vinegar is recommended as it’s pH balanced and doesn’t contain dyes.
- Distilled Water: Using distilled water prevents mineral buildup on your screens. Tap water can contain minerals that leave streaks.
- Microfiber Cloth: Essential for gently wiping and cleaning the screen without scratching. Avoid using paper towels or abrasive cloths.
- Spray Bottle (Optional): A small spray bottle makes application easier and more controlled. If you don’t have one, you can dampen the cloth directly.
Important Note: Always ensure your electronic device is powered off before cleaning. This prevents potential electrical damage and makes it easier to see smudges and dirt on the screen.

The Perfect Ratio: Mixing Your DIY Screen Cleaner
The ideal ratio for your DIY screen cleaner is 50% distilled white vinegar and 50% distilled water. This concentration provides effective cleaning power without being too harsh on sensitive screens.
Here’s how to mix your screen cleaner:
- Prepare the Solution: In a clean spray bottle, combine equal parts distilled white vinegar and distilled water. For example, you can mix 1/2 cup of vinegar with 1/2 cup of water.
- Shake Well: Secure the lid of the spray bottle and shake well to ensure the vinegar and water are thoroughly mixed.
- Label Your Bottle: Clearly label the bottle as “Screen Cleaner” to avoid confusion with other cleaning solutions.
If you don’t have a spray bottle, you can mix the solution in a small bowl and use a damp microfiber cloth to apply it.
No products found.
Cleaning Your Screens: A Step-by-Step Guide
Now that you have your DIY screen cleaner ready, follow these steps to safely and effectively clean your screens:
- Power Off: Always turn off the device you’re cleaning. This is crucial for safety and visibility.
- Prepare Your Microfiber Cloth: Make sure your microfiber cloth is clean and dry.
- Apply the Solution: If using a spray bottle, lightly mist the microfiber cloth with the screen cleaner. Do not spray the solution directly onto the screen. If you don’t have a spray bottle, dampen the microfiber cloth with the solution, ensuring it’s not soaking wet.
- Gently Wipe the Screen: Gently wipe the screen in a circular motion, applying light pressure to remove fingerprints, dust, and grime. Avoid pressing too hard, as this could damage the screen.
- Dry the Screen (Optional): If necessary, use a clean, dry portion of the microfiber cloth to dry the screen.
- Repeat if Necessary: For stubborn stains or grime, repeat the process.
Tips for Different Devices:
- Smartphones and Tablets: Pay extra attention to the edges of the screen, where dirt tends to accumulate.
- Laptops and Monitors: Be gentle when cleaning LCD or LED screens, as they can be more delicate.
- Televisions: Follow the manufacturer’s instructions for cleaning your TV screen. Some TVs have specific cleaning recommendations.
Troubleshooting and Additional Tips
Here are some troubleshooting tips and additional considerations for your DIY screen cleaning:
- Streaks: If you notice streaks after cleaning, it could be due to using too much solution or using a dirty microfiber cloth. Try using a drier cloth and repeating the process.
- Water Spots: Using distilled water minimizes the risk of water spots. If spots appear, try using a clean, dry microfiber cloth to buff them away.
- Vinegar Smell: The vinegar smell will dissipate quickly. If you’re sensitive to the odor, you can add a drop or two of essential oil (such as lavender or lemon) to the solution. Be cautious when using essential oils, as some can damage certain screens. Test on a small, inconspicuous area first.
- Frequency: How often you clean your screens depends on usage. For most devices, cleaning once or twice a week is sufficient.
- Choosing a Microfiber Cloth: Invest in high-quality microfiber cloths. They are designed to trap dirt and dust without scratching the screen. Wash your microfiber cloths regularly to keep them clean.
By following these simple steps and tips, you can keep your screens sparkling clean and enjoy a clearer, more enjoyable viewing experience.
No products found.

Previous Post
Next Post

- Air Fryer Revolution: Your Guide to Crispy, Healthy & Fast Cooking

- AirPods: A Comprehensive Guide to Apple’s Wireless Earbuds
- Amazon Echo Dot: A Comprehensive Guide to Smart Home Automation
- Amazon Fire Stick: Your Ultimate Guide to Streaming Entertainment
- Apple TV: Your Comprehensive Guide to Streaming Bliss in 2024
- Apple Watch SE: The Smart Choice for a Smarter Lifestyle
- Apple Watch Series 9: A Deep Dive into the Latest Features and Innovations
- Apple Watch Ultra 2: A Deep Dive into the Ultimate Adventure Companion
- Apple Watch Ultra: The Ultimate Adventure Companion – A Deep Dive Review
- Apple Watch: A Comprehensive Guide to Features, Benefits, and Choosing the Right Model


