Now Reading: DIY Idea: Create Personalized Scrunchies – A Sewing Tutorial
- 01
DIY Idea: Create Personalized Scrunchies – A Sewing Tutorial
DIY Idea: Create Personalized Scrunchies – A Sewing Tutorial
Introduction: The Scrunchie Revival – Personalize Your Style!
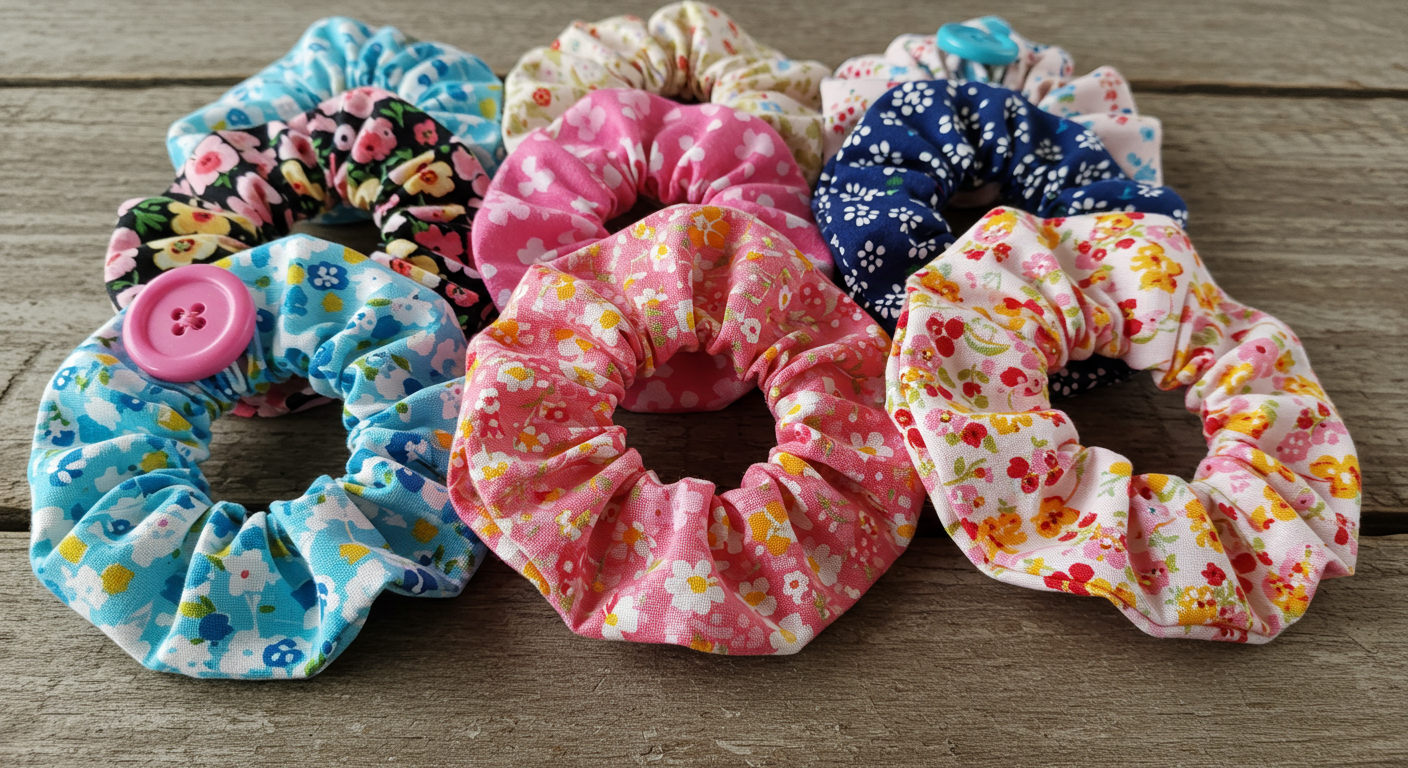
Scrunchies are back and bigger than ever! Once a nostalgic 90s accessory, they’ve made a triumphant return, gracing runways and street style alike. But why settle for store-bought when you can unleash your creativity and craft your own unique scrunchies? This tutorial will guide you through the simple process of sewing fabric scrunchies, allowing you to personalize your style with a rainbow of colors, patterns, and textures. Get ready to ditch those boring hair ties and embrace the scrunchie revolution!
From velvet to floral prints, silk to denim, the possibilities are endless. This DIY project is perfect for beginners and seasoned crafters alike. It’s a fantastic way to use up fabric scraps, create thoughtful gifts, and add a personal touch to your everyday look.
Materials You’ll Need: Gather Your Supplies
Before we dive into the sewing process, let’s gather the necessary materials. Don’t worry, most of these items are readily available and budget-friendly.
- Fabric: Choose your favorite fabrics! Cotton, velvet, silk, linen, and even repurposed clothing work wonderfully. Scraps are perfect for this project. Aim for pieces at least 4 inches wide and 22 inches long.
- Elastic: 1/4-inch or 3/8-inch wide elastic. Approximately 7-9 inches long per scrunchie.
- Sewing Machine: A basic sewing machine will do the trick.
- Thread: Matching thread to your fabric.
- Scissors or Rotary Cutter: For precise fabric cutting.
- Measuring Tape or Ruler: Essential for accurate measurements.
- Pins or Clips: To hold fabric pieces together while sewing.
- Safety Pin or Bodkin: For threading the elastic through the fabric tube.
- Iron and Ironing Board: For pressing the fabric.
Optional Materials:
- Rotary Cutter, Mat, and Ruler: Speeds up cutting process if you plan on making a large batch.
- Decorative elements: Buttons, beads, lace, ribbons, etc., to embellish your scrunchies.

Step-by-Step Tutorial: Sewing Your Custom Scrunchies
Now for the fun part! Follow these simple steps to create your own personalized scrunchies.
- Prepare Your Fabric: Iron your fabric to remove any wrinkles. Cut a rectangle of fabric, approximately 4 inches wide and 22 inches long. Adjust the length to create a larger or smaller scrunchie.
- Fold and Sew: Fold the fabric rectangle in half, right sides together, lengthwise. Pin or clip the edges together along the long side.
- Sew the Seam: Using a 1/4-inch seam allowance, sew along the pinned edge, creating a tube. Leave a 2-3 inch opening in the middle of the seam. This opening will be used to turn the fabric right side out. Backstitch at the beginning and end of your seam to secure it.
- Turn Right Side Out: Carefully turn the fabric tube right side out through the opening. Use a point turner or a chopstick to gently push out the corners.
- Press the Seam: Press the seam open, paying attention to the opening. Fold the raw edges of the opening inward, pressing them to create a clean edge.
- Insert the Elastic: Attach a safety pin or bodkin to one end of the elastic. Thread the elastic through the fabric tube, working your way around until it comes out the other end.
- Secure the Elastic: Overlap the ends of the elastic by about 1 inch. Sew them together securely, using a zigzag stitch or a hand-sewing needle and thread. Ensure the seam is strong and won’t break when stretched.
- Close the Opening: Carefully pin or clip the opening closed, ensuring the edges are neatly aligned.
- Topstitch the Opening: Topstitch around the entire scrunchie, close to the edge, to close the opening and create a polished finish. This also reinforces the scrunchie. Alternatively, you can hand-sew the opening closed with a blind stitch for an invisible finish.
- Embellish (Optional): Add embellishments like buttons, beads, lace, or ribbons to personalize your scrunchie further. Sew or glue them on securely.
No products found.
Creative Variations: Unleash Your Inner Designer
Once you’ve mastered the basic scrunchie, it’s time to explore creative variations! Here are a few ideas to get you started:
- Fabric Combinations: Use different fabrics for the inner and outer layers of your scrunchie.
- Ribbon Accents: Sew ribbons or lace along the edges of the scrunchie for a decorative touch.
- Bow Scrunchies: Attach a fabric bow to the scrunchie for a playful look.
- Velvet Scrunchies: Velvet adds a touch of luxury and sophistication.
- Silk Scrunchies: Silk is gentle on your hair and prevents breakage.
- Oversized Scrunchies: Use a longer piece of fabric for a dramatic, oversized scrunchie.
- Printed Fabrics: Use fun and vibrant printed fabrics to express your personality.
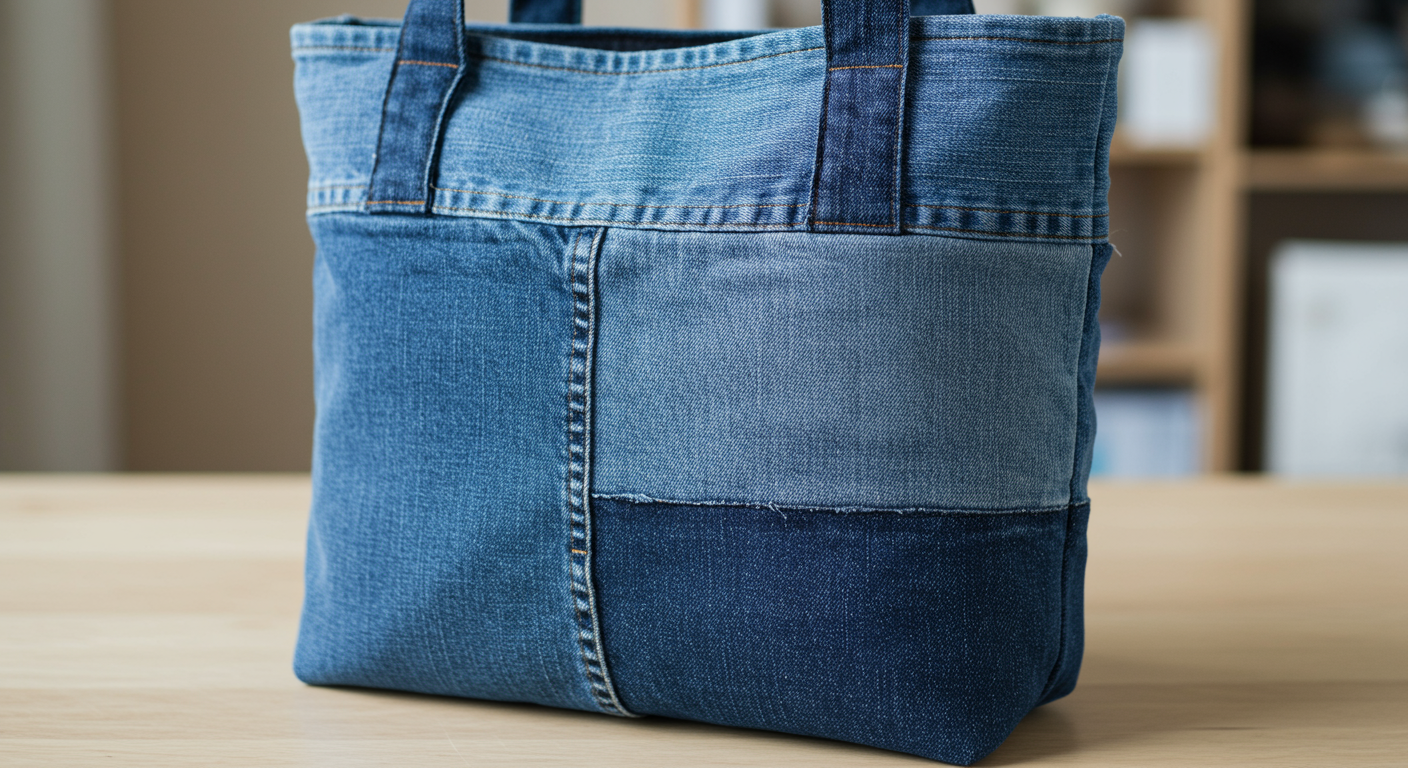
- Upcycled Fabrics: Give old clothing a new life by turning them into scrunchies.
Conclusion: Rock Your Handmade Scrunchies!
Congratulations! You’ve successfully created your own personalized scrunchies. Now you can rock your handmade creations and add a touch of unique style to your hair. This easy DIY project is not only fun but also a great way to express your creativity and reduce waste. Experiment with different fabrics, colors, and embellishments to create a collection of scrunchies that perfectly reflect your personality. Happy sewing!
Share your creations! We would love to see your scrunchie creations! Tag us on social media and use the hashtag #DIYScrunchies to show off your style.
No products found.
Related Posts


Previous Post
Next Post

- Air Fryer Revolution: Your Guide to Crispy, Healthy & Fast Cooking

- AirPods: A Comprehensive Guide to Apple’s Wireless Earbuds
- Amazon Echo Dot: A Comprehensive Guide to Smart Home Automation
- Amazon Fire Stick: Your Ultimate Guide to Streaming Entertainment
- Apple TV: Your Comprehensive Guide to Streaming Bliss in 2024
- Apple Watch SE: The Smart Choice for a Smarter Lifestyle
- Apple Watch Series 9: A Deep Dive into the Latest Features and Innovations
- Apple Watch Ultra 2: A Deep Dive into the Ultimate Adventure Companion
- Apple Watch Ultra: The Ultimate Adventure Companion – A Deep Dive Review
- Apple Watch: A Comprehensive Guide to Features, Benefits, and Choosing the Right Model


