Now Reading: DIY Soap Making: A Beginner’s Guide to Natural Beauty & Benefits
- 01
DIY Soap Making: A Beginner’s Guide to Natural Beauty & Benefits
DIY Soap Making: A Beginner’s Guide to Natural Beauty & Benefits

Introduction: Why Make Your Own Soap?
In today’s world, we’re becoming increasingly conscious of the ingredients we put on our bodies. Commercial soaps are often packed with harsh chemicals, synthetic fragrances, and unnecessary additives that can strip your skin of its natural oils, leading to dryness, irritation, and even allergic reactions. DIY soap making offers a fantastic alternative: the power to control exactly what goes into your soap, ensuring a gentle, nourishing cleanse.
Beyond the health benefits, DIY soap making is also a creative and rewarding hobby. You can customize your soaps with your favorite scents, colors, and textures, creating unique and personalized products for yourself, your family, and even as thoughtful gifts. Plus, it’s an eco-friendly way to reduce plastic waste from store-bought soaps.
This guide will walk you through the basics of cold process soap making, providing you with the knowledge and confidence to create your own beautiful and beneficial soaps at home.
Understanding the Basics: Cold Process Soap Making
The cold process method is a popular and relatively straightforward way to make soap. It involves combining oils (fats) with lye (sodium hydroxide) and water. A chemical reaction called saponification occurs, transforming the oils and lye into soap and glycerin.
Key Ingredients:
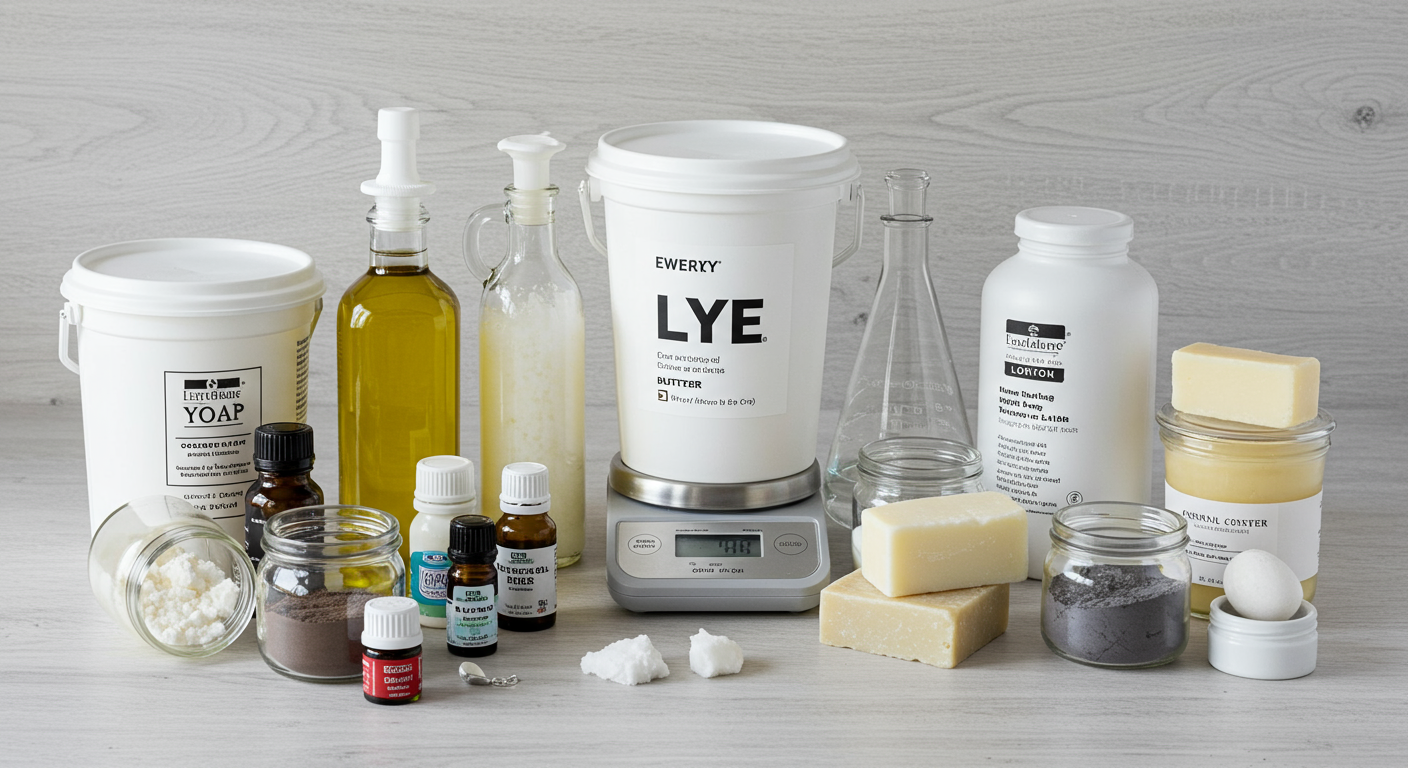
- Oils (Fats): These form the base of your soap and contribute different properties such as hardness, lather, and moisturizing abilities. Common oils include olive oil, coconut oil, palm oil (use sustainably sourced options), shea butter, and cocoa butter.
- Lye (Sodium Hydroxide – NaOH): This is an essential ingredient for soap making. Safety is paramount when working with lye. Always wear protective gloves and eyewear, and work in a well-ventilated area. Lye is a caustic substance that can cause burns.
- Water: Used to dissolve the lye. Distilled water is recommended for purity.
- Additives (Optional): These can include essential oils for fragrance, natural colorants (clays, herbs, spices), and exfoliants (oatmeal, coffee grounds).
Essential Equipment:
- Digital Scale: Crucial for accurate measurements.
- Heat-Resistant Containers: For mixing lye solution and oils.
- Stick Blender: To emulsify the mixture.
- Soap Mold: Silicone or lined wooden molds work well.
- Protective Gear: Gloves, goggles, and long sleeves.
- Thermometer: To monitor temperatures.
Safety First! Always handle lye with extreme caution. Add lye to water, never the other way around. Work in a well-ventilated area and keep children and pets away from the soap making process.
Step-by-Step Guide to Making Cold Process Soap
Recipe (Example): This recipe will yield approximately 1 kg of soap. Adjust the proportions based on your desired batch size.
- 400g Olive Oil
- 200g Coconut Oil
- 200g Palm Oil (Sustainable) or Shea Butter
- 100g Sunflower Oil
- 100g Castor Oil
- 136g Lye (NaOH)
- 384g Water
Instructions:
- Prepare Lye Solution: Carefully weigh out the lye and water in separate containers. Slowly add the lye to the water, stirring constantly. The mixture will heat up. Allow it to cool down to around 100-110°F (38-43°C).
- Prepare Oils: Weigh out the oils and combine them in a heat-resistant container. Heat the oils until they are melted and reach a temperature of around 100-110°F (38-43°C).
- Combine Lye Solution and Oils: Slowly pour the lye solution into the oils, stirring constantly with a stick blender.
- Reach Trace: Continue blending until the mixture reaches a “trace.” This means the mixture has thickened enough that when you drizzle some of it across the surface, it leaves a temporary trace before disappearing. It should look like thin pudding.
- Add Additives (Optional): At trace, add your essential oils, colorants, and exfoliants. Stir gently to incorporate.
- Pour into Mold: Pour the soap mixture into your prepared mold.
- Insulate: Cover the mold with a towel or blanket to insulate it. This helps the saponification process.
- Cure: Let the soap sit in the mold for 24-48 hours. After this time, unmold the soap and cut it into bars. Place the bars on a wire rack in a well-ventilated area to cure for 4-6 weeks. This allows excess water to evaporate and the saponification process to complete.
Troubleshooting:
- Separation: If the mixture separates, it means it hasn’t emulsified properly. Continue blending.
- Accelerated Trace: Some essential oils or additives can cause the mixture to thicken too quickly. Work quickly!
- Crumbly Soap: This can be due to insufficient water or adding too much lye.
No products found.
The Benefits of Using Homemade Soap
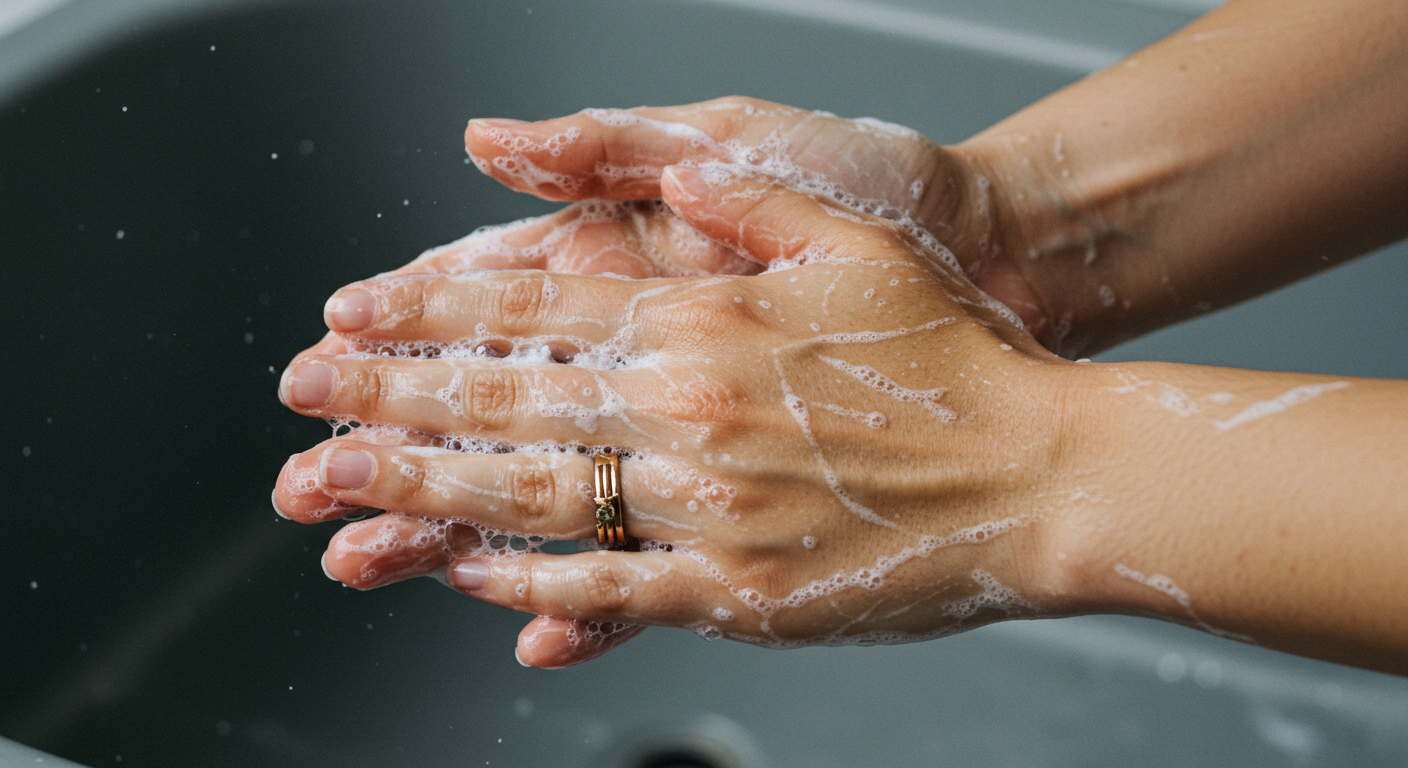
Gentle and Nourishing: Homemade soaps are often gentler than commercial soaps because they retain their natural glycerin, a humectant that attracts moisture to the skin. This helps to keep your skin hydrated and supple.
Customizable Ingredients: You can tailor your soap to your specific skin type and needs. For example, you can add ingredients like shea butter for dry skin, tea tree oil for acne-prone skin, or chamomile for sensitive skin.
Avoidance of Harsh Chemicals: By making your own soap, you can avoid potentially harmful ingredients such as parabens, sulfates, and synthetic fragrances, which can irritate the skin.
Aromatherapy Benefits: Essential oils not only provide a pleasant scent but also offer therapeutic benefits. Lavender is known for its calming properties, while peppermint can be invigorating.
Cost-Effective: Making your own soap can be more cost-effective in the long run, especially if you use simple and readily available ingredients.
Environmentally Friendly: DIY soap making reduces your reliance on plastic packaging and allows you to use sustainable ingredients.
Beyond the Basics: Creative Soap Making Ideas
Once you’ve mastered the basics of cold process soap making, you can start experimenting with different recipes, techniques, and ingredients.
- Swirls and Layers: Create visually stunning soaps by swirling different colors or layering different soap mixtures.
- Herbal Infusions: Infuse your oils with herbs like calendula or lavender to add extra benefits and a natural scent.
- Goat Milk Soap: Goat milk adds extra creaminess and moisturizing properties to soap.
- Loofah Soap: Embed a loofah sponge into your soap for a built-in exfoliant.
- Salt Bars: Salt bars are made with a high percentage of salt, which creates a hard, long-lasting bar with exfoliating properties.
- Liquid Soap: While more complex, liquid soap making offers a different type of cleanser.
The possibilities are endless! Experiment with different combinations of oils, essential oils, colorants, and additives to create soaps that are perfect for you and your loved ones. Remember to keep detailed notes of your recipes and processes so you can replicate your successes and learn from your experiments.
No products found.


