Now Reading: DIY Idea: Design Your Own Watercolor & Hand Lettered Cards
- 01
DIY Idea: Design Your Own Watercolor & Hand Lettered Cards
DIY Idea: Design Your Own Watercolor & Hand Lettered Cards
Introduction: The Joy of Handmade Cards
In a world dominated by digital communication, the simple act of sending a handwritten card holds a special significance. A handmade card, especially one crafted with care using watercolor and hand lettering, adds a personal touch that a store-bought card simply can’t replicate. It’s a tangible expression of your thoughts and feelings, a small piece of art created specifically for the recipient. This blog post will guide you through the process of designing your own unique watercolor and hand-lettered cards, allowing you to create heartfelt greetings for any occasion.
Why choose to make your own cards? Firstly, it’s an incredibly rewarding creative outlet. Secondly, it’s cost-effective, especially if you send a lot of cards. Thirdly, and perhaps most importantly, it shows the recipient that you’ve put time and effort into creating something special just for them. Get ready to unleash your inner artist and spread some joy!
Gathering Your Supplies: Essential Tools and Materials
Before you dive into creating your cards, it’s essential to gather the necessary supplies. Here’s a breakdown of the tools and materials you’ll need:
- Watercolor Paints: A basic watercolor set is a great starting point. Tubes or pans are both fine, but tubes offer more control over color mixing. Consider a set with a variety of colors, including primary colors for easy mixing.
- Watercolor Paper: This is crucial! Regular paper will buckle and warp with water. Look for watercolor paper that is at least 140lb (300gsm) for best results. Pre-cut watercolor cards are a convenient option, or you can purchase larger sheets and cut them down to size.
- Watercolor Brushes: A variety of brush sizes is helpful for different techniques. Round brushes are versatile for detail work and washes, while flat brushes are good for larger areas.
- Pencils and Erasers: For sketching your designs and lettering guidelines.
- Hand Lettering Pens: Brush pens are ideal for modern calligraphy and lettering. Choose pens with varying tip sizes for different line weights. Fineliner pens are also useful for adding details.
- Palette: For mixing your watercolor paints. A ceramic palette or a plastic palette with wells works well.
- Water Container: For cleaning your brushes.
- Paper Towels or a Clean Cloth: For blotting excess water from your brushes.
- Masking Fluid (Optional): To protect certain areas of your paper from watercolor.
- Ruler or T-Square (Optional): For creating straight lines.
- Light Box (Optional): Helpful for tracing designs.
Investing in quality supplies will significantly improve your results. Don’t be afraid to experiment with different brands and find what works best for you.

Watercolor Techniques for Card Design
Watercolor offers a range of techniques perfect for card design. Here are a few to get you started:
- Wet-on-Wet: Apply water to your paper first, then add watercolor. This creates soft, blended effects, ideal for backgrounds and abstract designs.
- Wet-on-Dry: Apply watercolor directly to dry paper. This creates sharper lines and more defined shapes.
- Layering: Build up color gradually by applying thin layers of watercolor. Allow each layer to dry before adding the next. This creates depth and dimension.
- Lifting: Use a clean, damp brush or paper towel to lift color from the paper. This can create highlights or interesting textures.
- Salt Technique: Sprinkle salt onto wet watercolor. As the water dries, the salt will create a unique, textured effect.
- Dry Brush: Use a dry brush with a small amount of paint to create a textured, scratchy effect.
Practice Makes Perfect: Don’t be discouraged if your first attempts aren’t perfect. Watercolor can be unpredictable, but with practice, you’ll learn to control the flow and create beautiful effects. Try practicing these techniques on scrap paper before applying them to your cards.
Inspiration: Look for inspiration in nature, art, and design. Pay attention to color palettes, patterns, and compositions that you find appealing.
No products found.
Hand Lettering for Card Design: Styles and Techniques
Hand lettering adds a personal and artistic touch to your cards. Here are some popular lettering styles and techniques:
- Modern Calligraphy: A flowing, elegant style using brush pens to create thick and thin strokes. Practice basic strokes like upstrokes (thin) and downstrokes (thick) to master this style.
- Faux Calligraphy: A simplified version of calligraphy, where you create the illusion of thick and thin strokes by manually adding thickness to downstrokes.
- Sans-Serif Lettering: A clean and modern style without serifs (the small decorative strokes at the ends of letters).
- Serif Lettering: A more traditional style with serifs.
- Bounce Lettering: A playful style where the letters appear to bounce up and down along the baseline.
Tips for Hand Lettering:
- Practice: Like watercolor, hand lettering requires practice. Start with basic alphabets and then experiment with different styles.
- Pencil Guidelines: Use a pencil to draw guidelines for your lettering. This will help you maintain consistent letter height and spacing.
- Spacing: Pay attention to the spacing between letters and words. Consistent spacing is crucial for readability.
- Composition: Consider the overall composition of your lettering. Experiment with different layouts and arrangements.
- Incorporate Flourishes: Add flourishes (decorative strokes) to your lettering to add extra flair.
Combining Watercolor and Lettering: The magic happens when you combine your watercolor creations with hand-lettered messages. Consider watercoloring a floral background and then adding a hand-lettered greeting on top. Experiment with different combinations to find what you love!
Bringing It All Together: Card Design Ideas & Inspiration
Now that you have the techniques down, let’s explore some card design ideas:
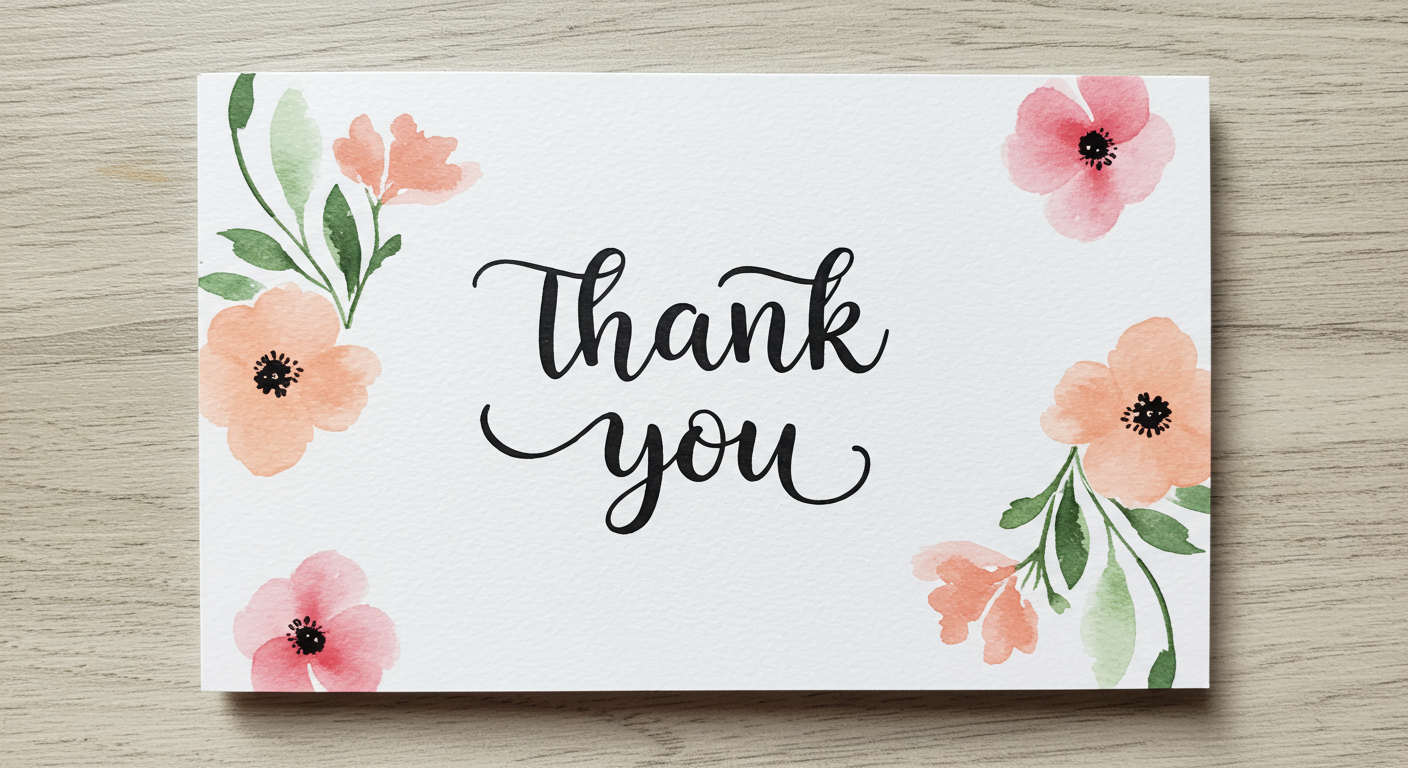
- Floral Cards: Watercolor flowers and leaves with a hand-lettered ‘Thank You’ or ‘Thinking of You’ message.
- Abstract Cards: Create abstract watercolor backgrounds using wet-on-wet techniques and add a simple hand-lettered greeting.
- Landscape Cards: Paint a watercolor landscape scene and add a hand-lettered quote or message.
- Holiday Cards: Design festive cards with watercolor holly berries, snowflakes, or ornaments, and add a hand-lettered ‘Merry Christmas’ or ‘Happy Holidays’ message.
- Birthday Cards: Create colorful watercolor balloons or confetti and add a hand-lettered ‘Happy Birthday’ message.
- Personalized Cards: Incorporate the recipient’s name into the design or create a card based on their interests.
Step-by-Step Example: Watercolor Floral Card
- Sketch: Lightly sketch a floral design on your watercolor paper.
- Watercolor: Paint the flowers and leaves using watercolor techniques. Experiment with different colors and layering.
- Hand Lettering: Once the watercolor is dry, use a brush pen to add a hand-lettered greeting.
- Details: Add details like veins to the leaves or highlights to the flowers using a fineliner pen.
- Erase Pencil Marks: Gently erase any visible pencil marks.
Final Thoughts: Creating your own watercolor and hand-lettered cards is a rewarding and creative process. Don’t be afraid to experiment, make mistakes, and have fun! The most important thing is to create something that comes from the heart.
No products found.
Related Posts


Previous Post
Next Post


- Air Fryer Revolution: Your Guide to Crispy, Healthy & Fast Cooking

- AirPods: A Comprehensive Guide to Apple’s Wireless Earbuds
- Amazon Echo Dot: A Comprehensive Guide to Smart Home Automation
- Amazon Fire Stick: Your Ultimate Guide to Streaming Entertainment
- Apple TV: Your Comprehensive Guide to Streaming Bliss in 2024
- Apple Watch SE: The Smart Choice for a Smarter Lifestyle
- Apple Watch Series 9: A Deep Dive into the Latest Features and Innovations
- Apple Watch Ultra 2: A Deep Dive into the Ultimate Adventure Companion
- Apple Watch Ultra: The Ultimate Adventure Companion – A Deep Dive Review
- Apple Watch: A Comprehensive Guide to Features, Benefits, and Choosing the Right Model


